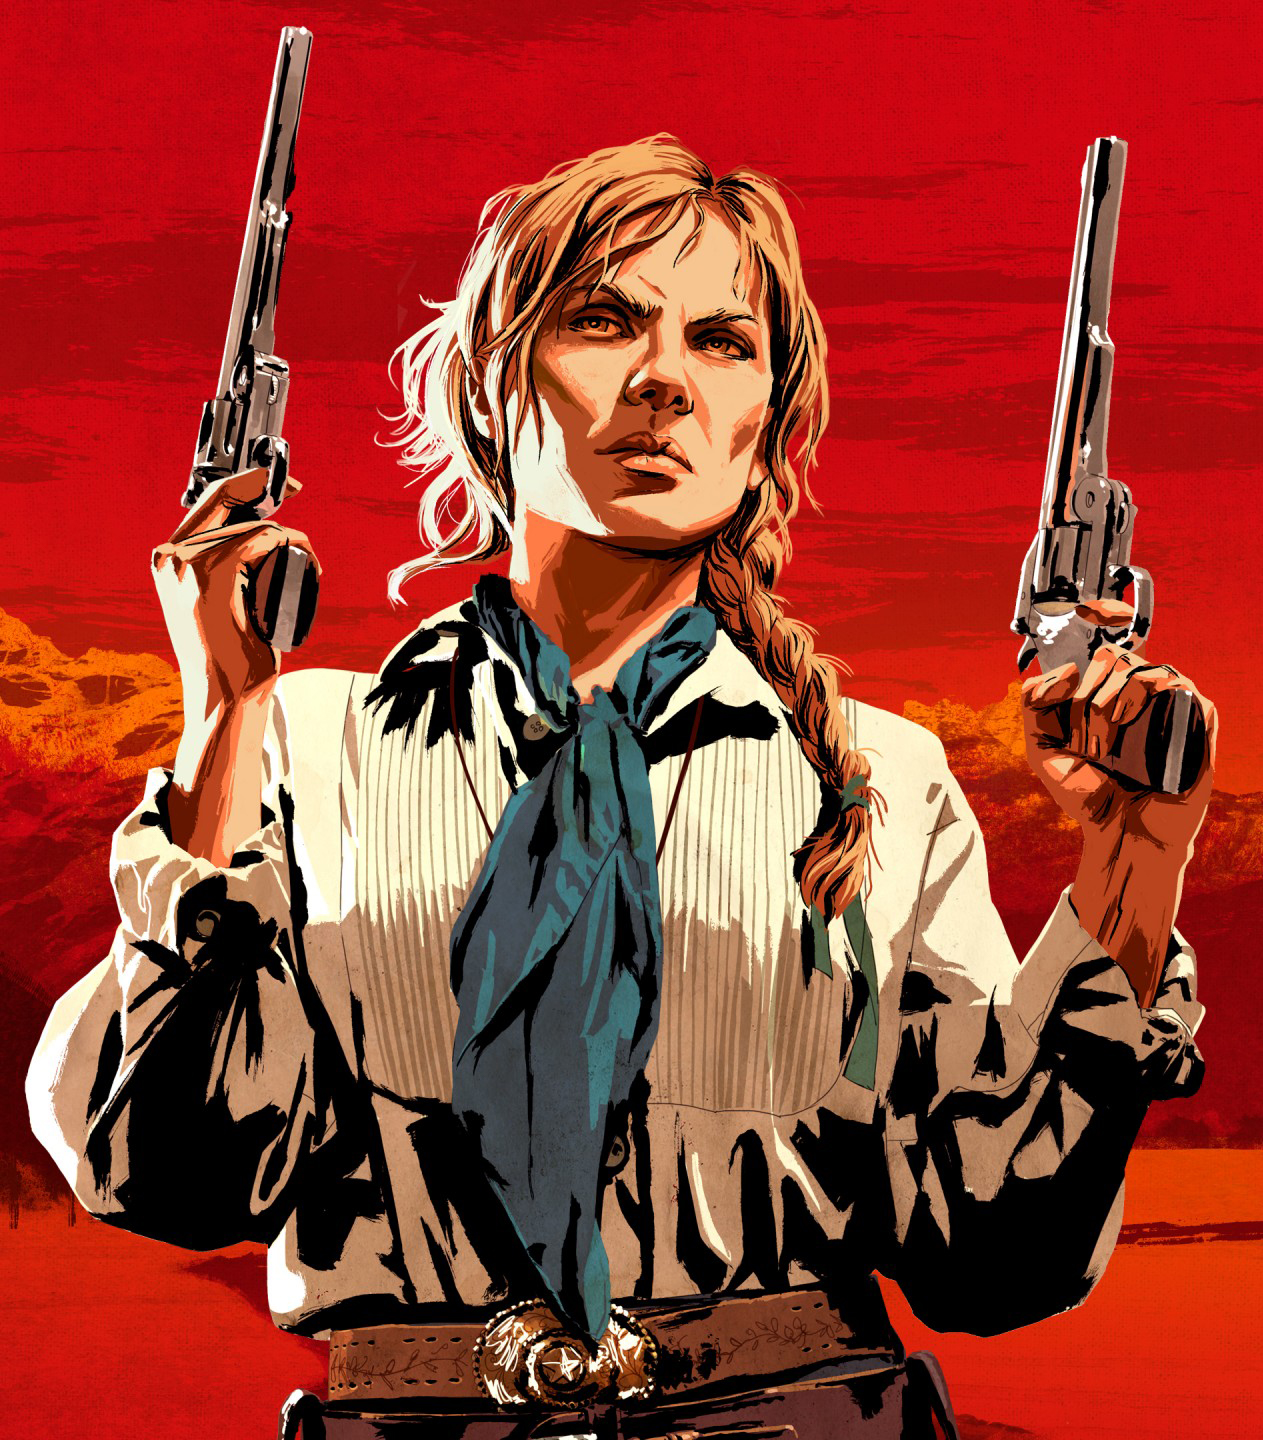
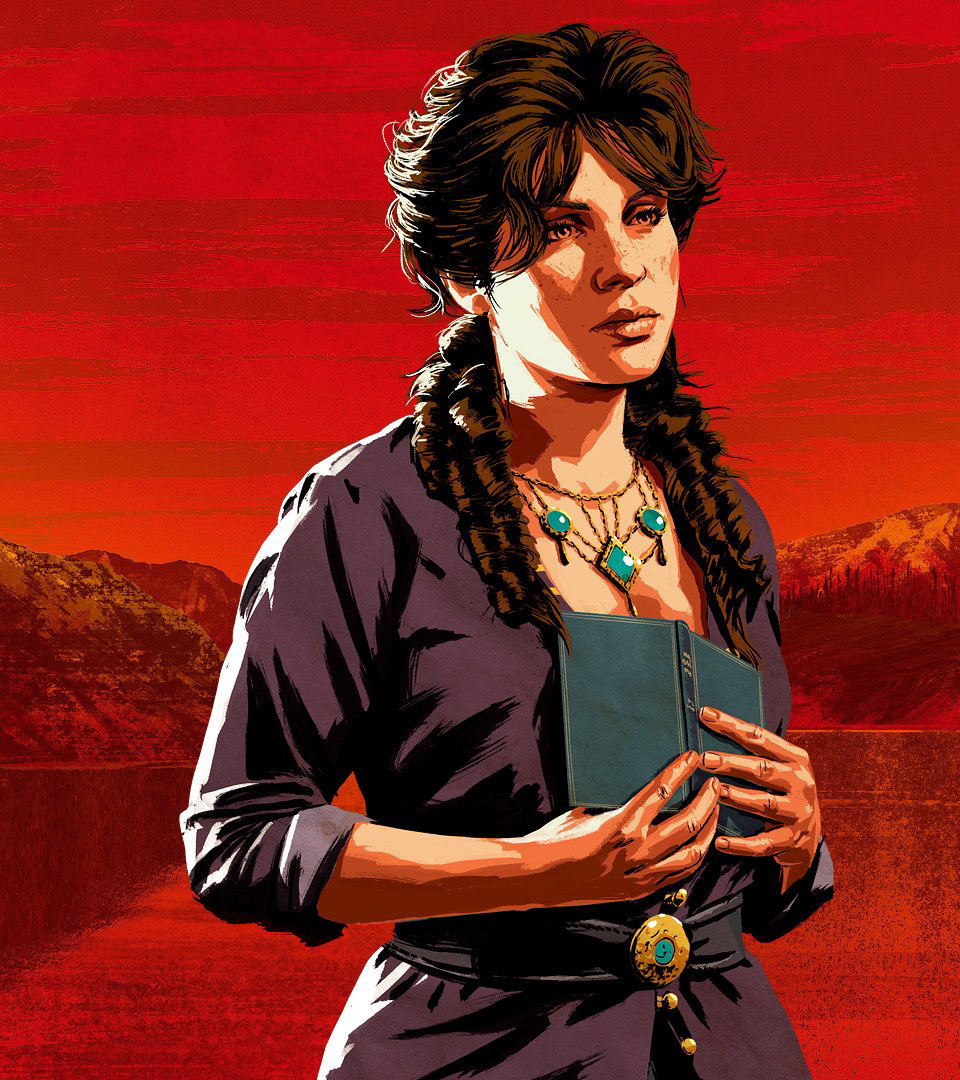
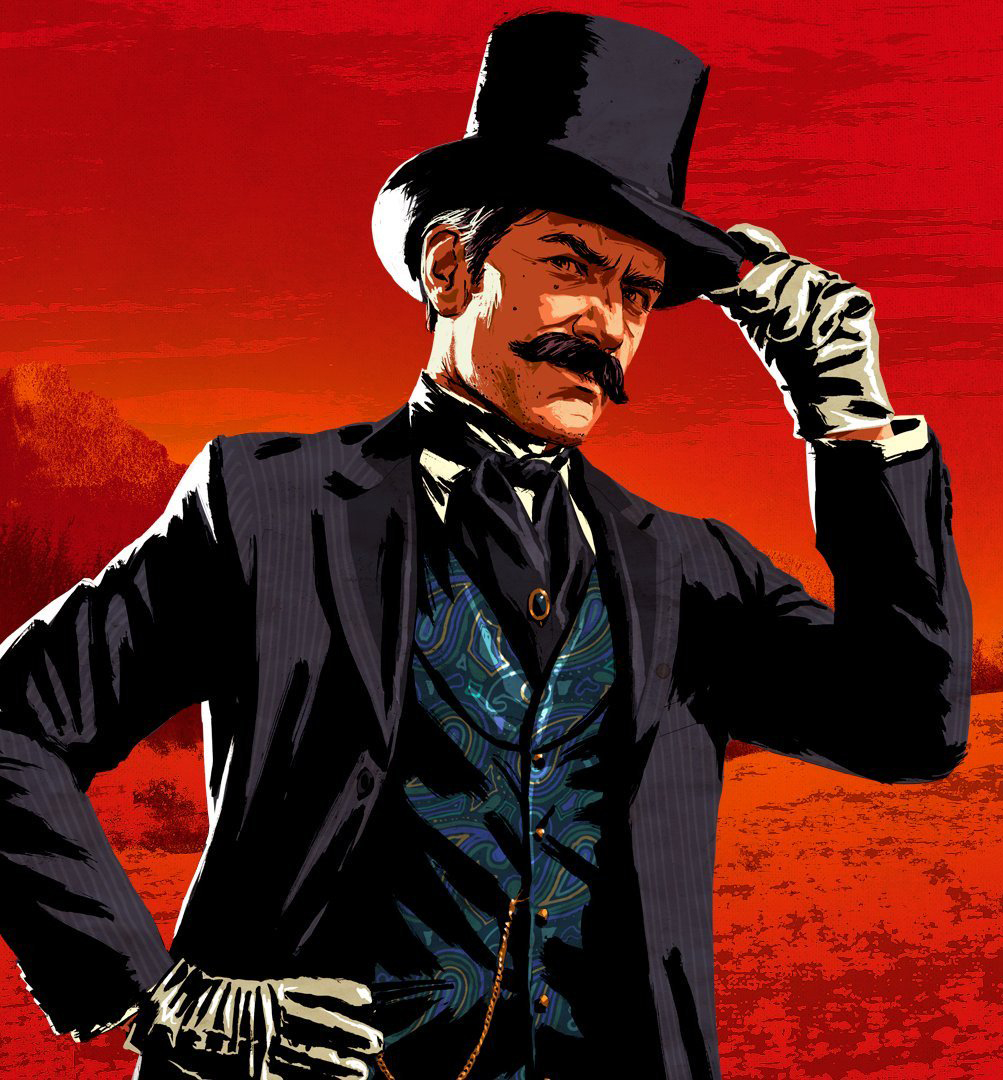
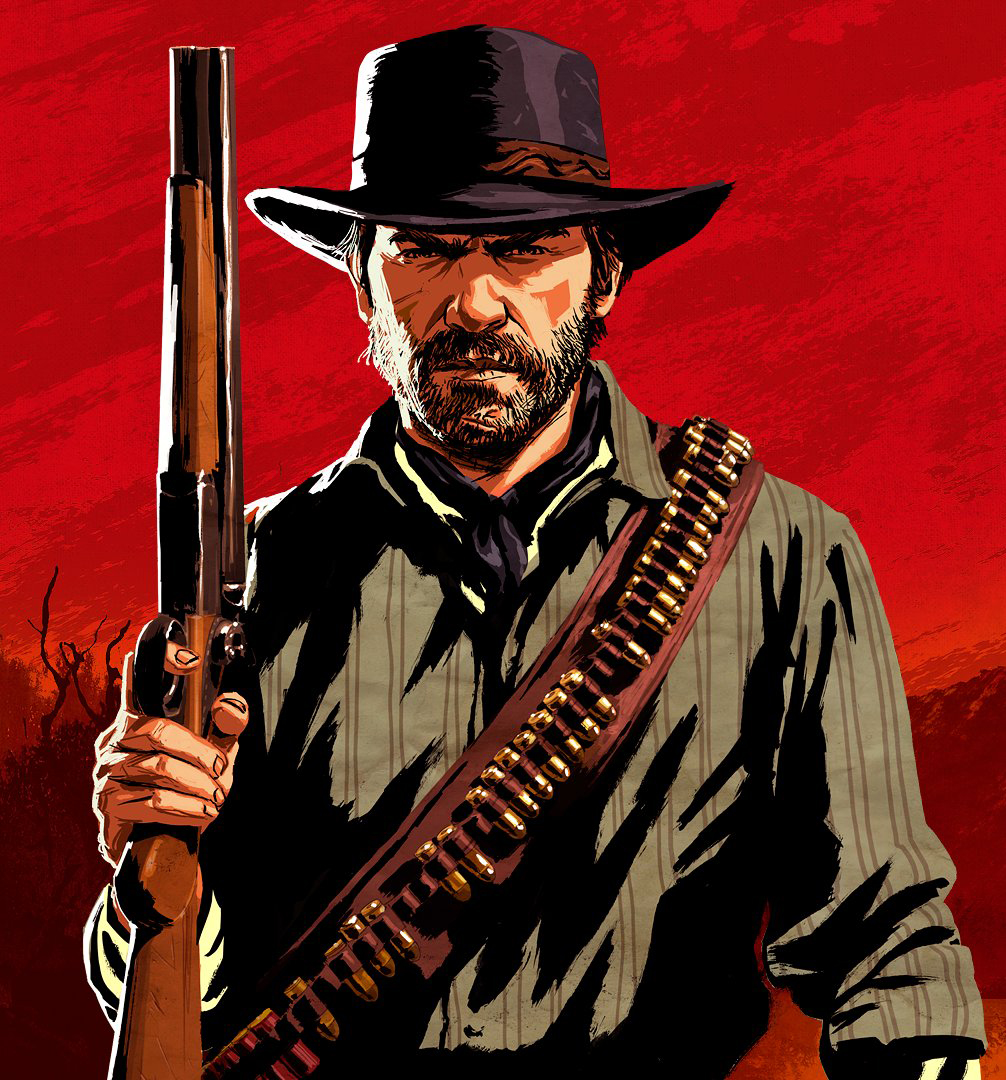
The graphics and style of the New Red Dead Redemption game are everywhere. The scenes and characters take game design to a new level and this specific look has attracted thousands to giving it a go!
This week Martin has created a tutorial based around this Western themes action game and the characters played out within it.
Create a self portrait in true Red Dead Redemption style...
It's common to feel inspired by games, movies, special effects etc and there's a big trend towards creating fan art which depicts popular characters or even scenes. This is really useful to develop and show off your technical skills as well as build a portfolio of work you have enjoyed producing!
This tutorial takes that concept a step further! It demonstrates a work-flow to help you create a self-portrait in the Red Dead Redemption artwork style. This method gives you even more creative freedom over an outcome because you are essentially creating a new character, with their own style and personality.
Examples of real characters from Red Dead Redemption
So let's take a look at how you could go about making something similar.
Martin covers the process and techniques you can use to develop this type of illustration in the tutorial
above. Or read on to get more of an idea about what you could learn and the basic steps which are crucial
to this work-flow.
Creating the artwork
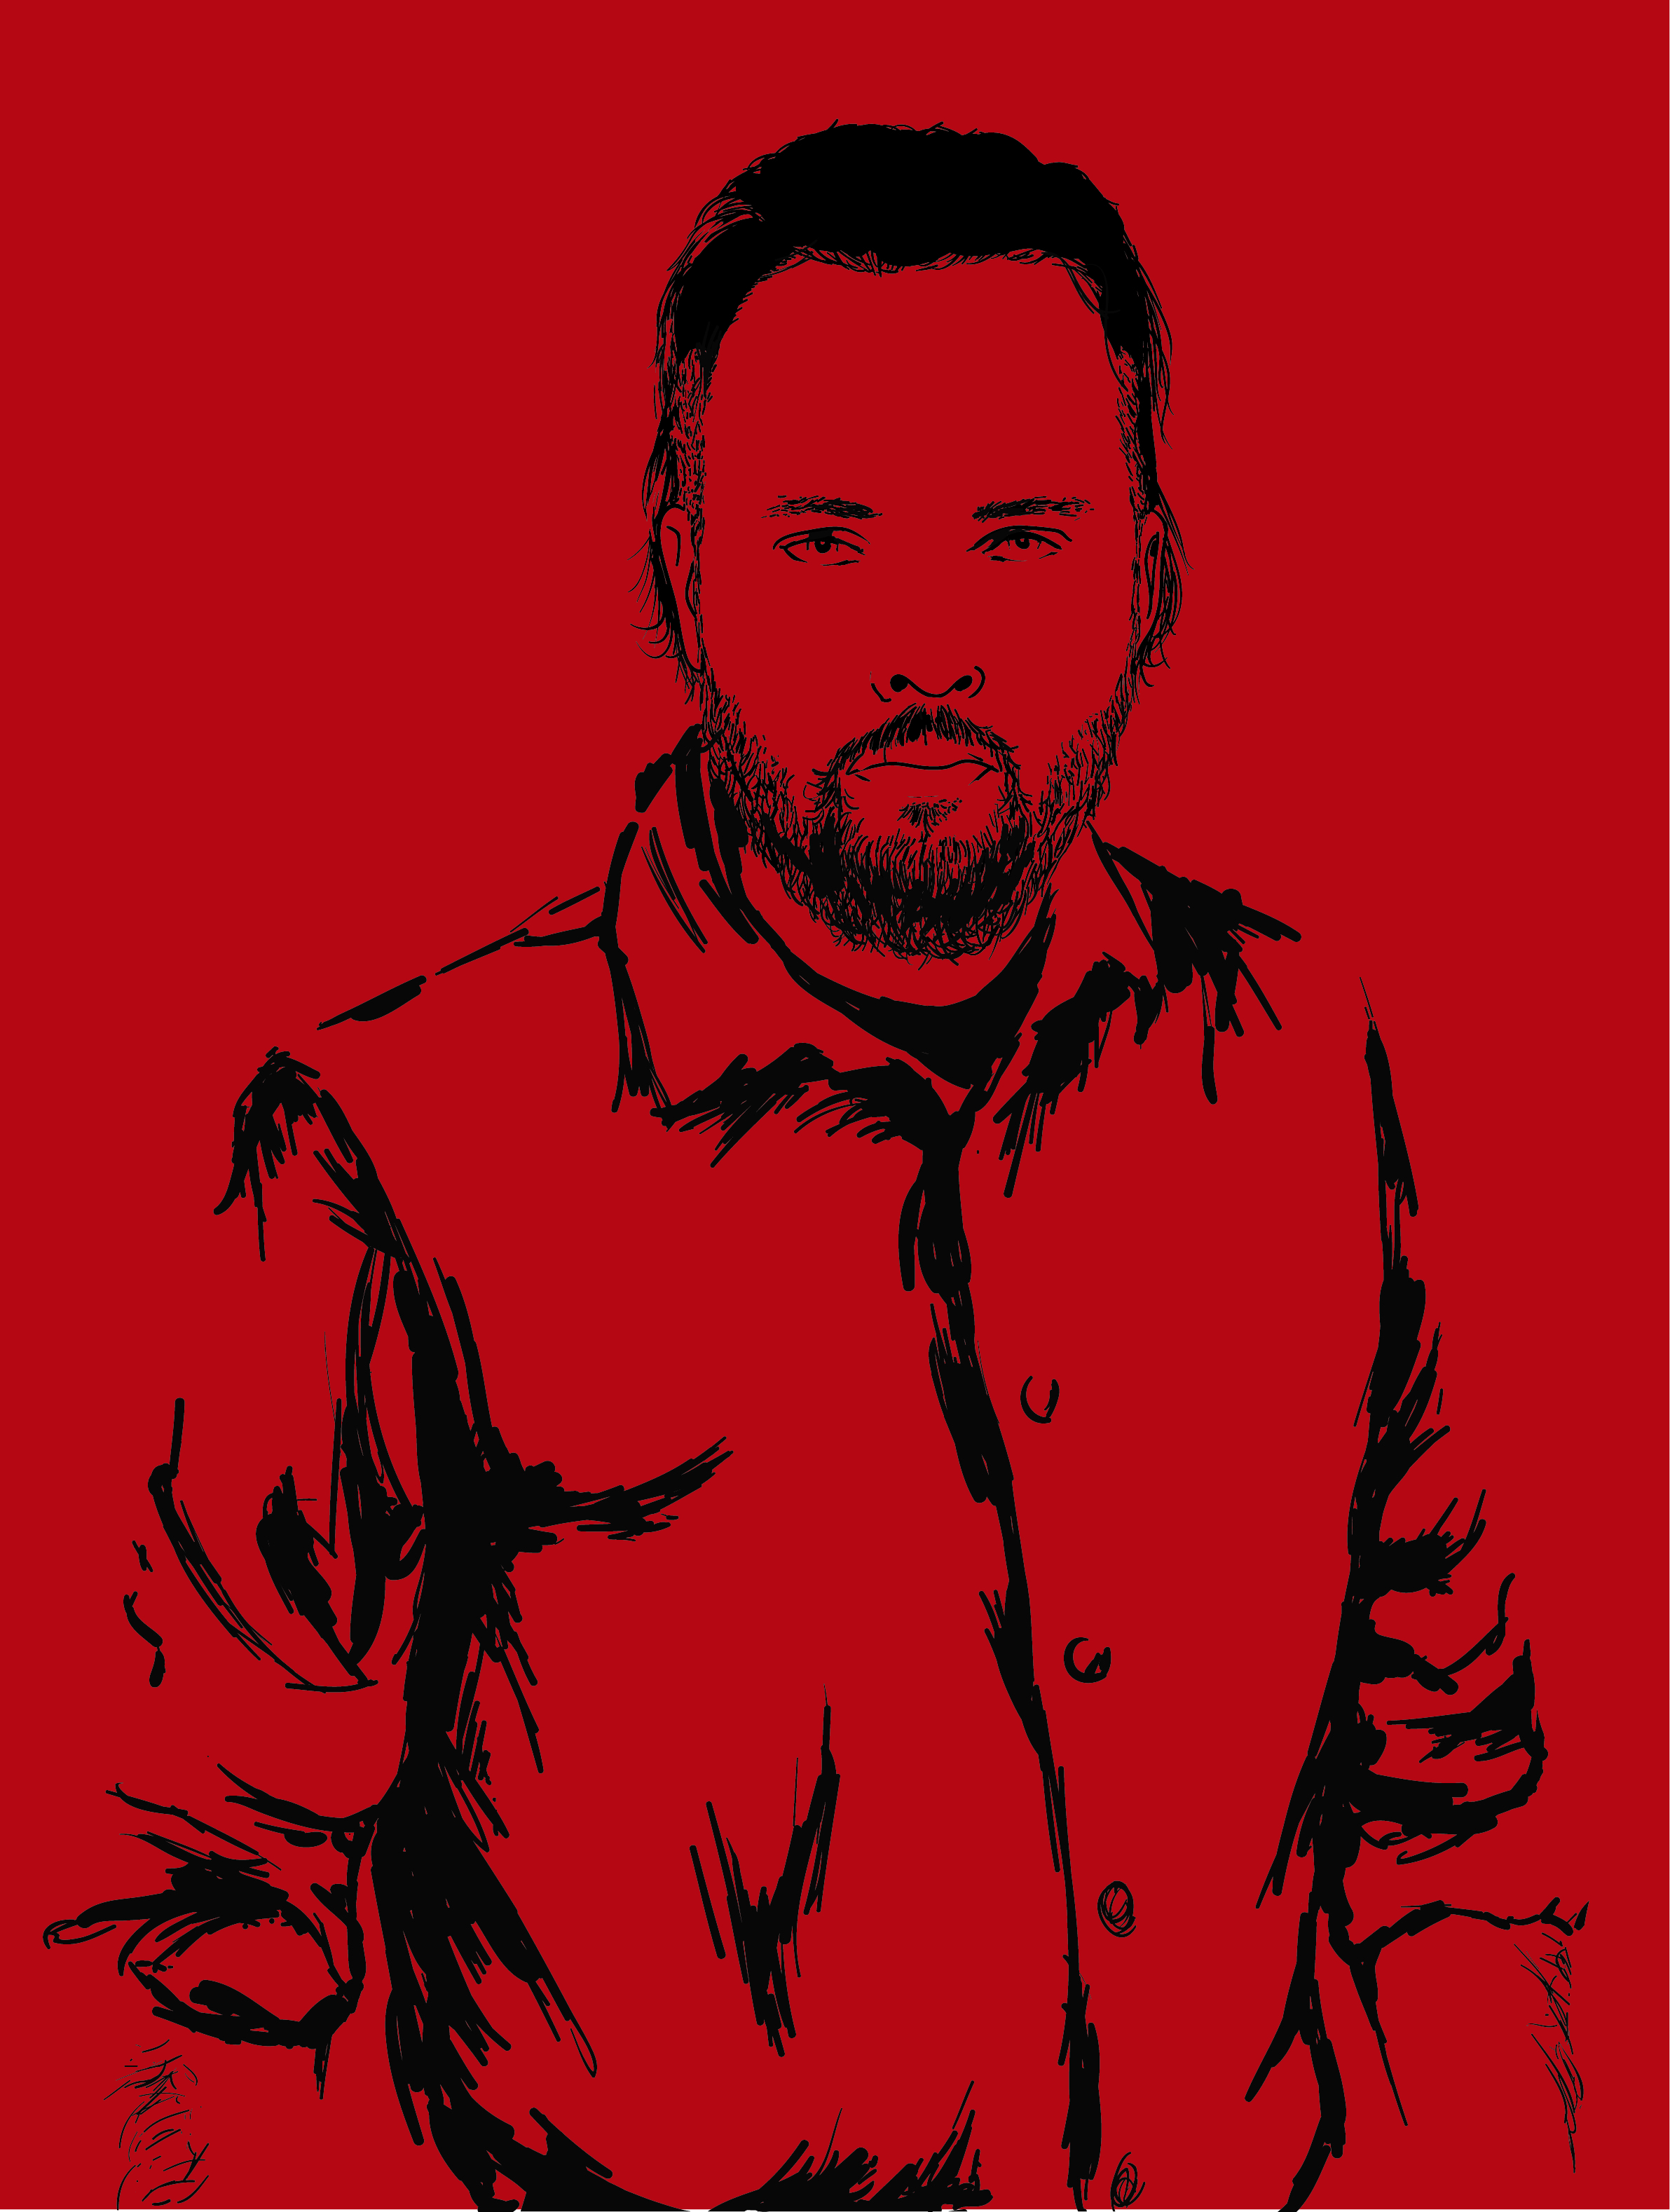
First off work with an image to create an outline for your character.
In the video Martin walks through how to start with a simple image of yourself in the right kind of pose (yup this method may involve having some fun with photos!) Discover how you can use a combination of Lightroom & Photoshop CC to prep your image so it is ready to be used as a guide to trace in Illustrator.
Get familiar with the Blob Brush tool. It's settings and how to make the most of the tool. Then get cracking, creating the outline of an illustration, particularly for a character is incredibly important as it will form a base you add detail to later. Remember you just need to capture the essence of the shapes you see, colour is much better for adding details.
Adding shading, detail and skin tone (adding colour.)
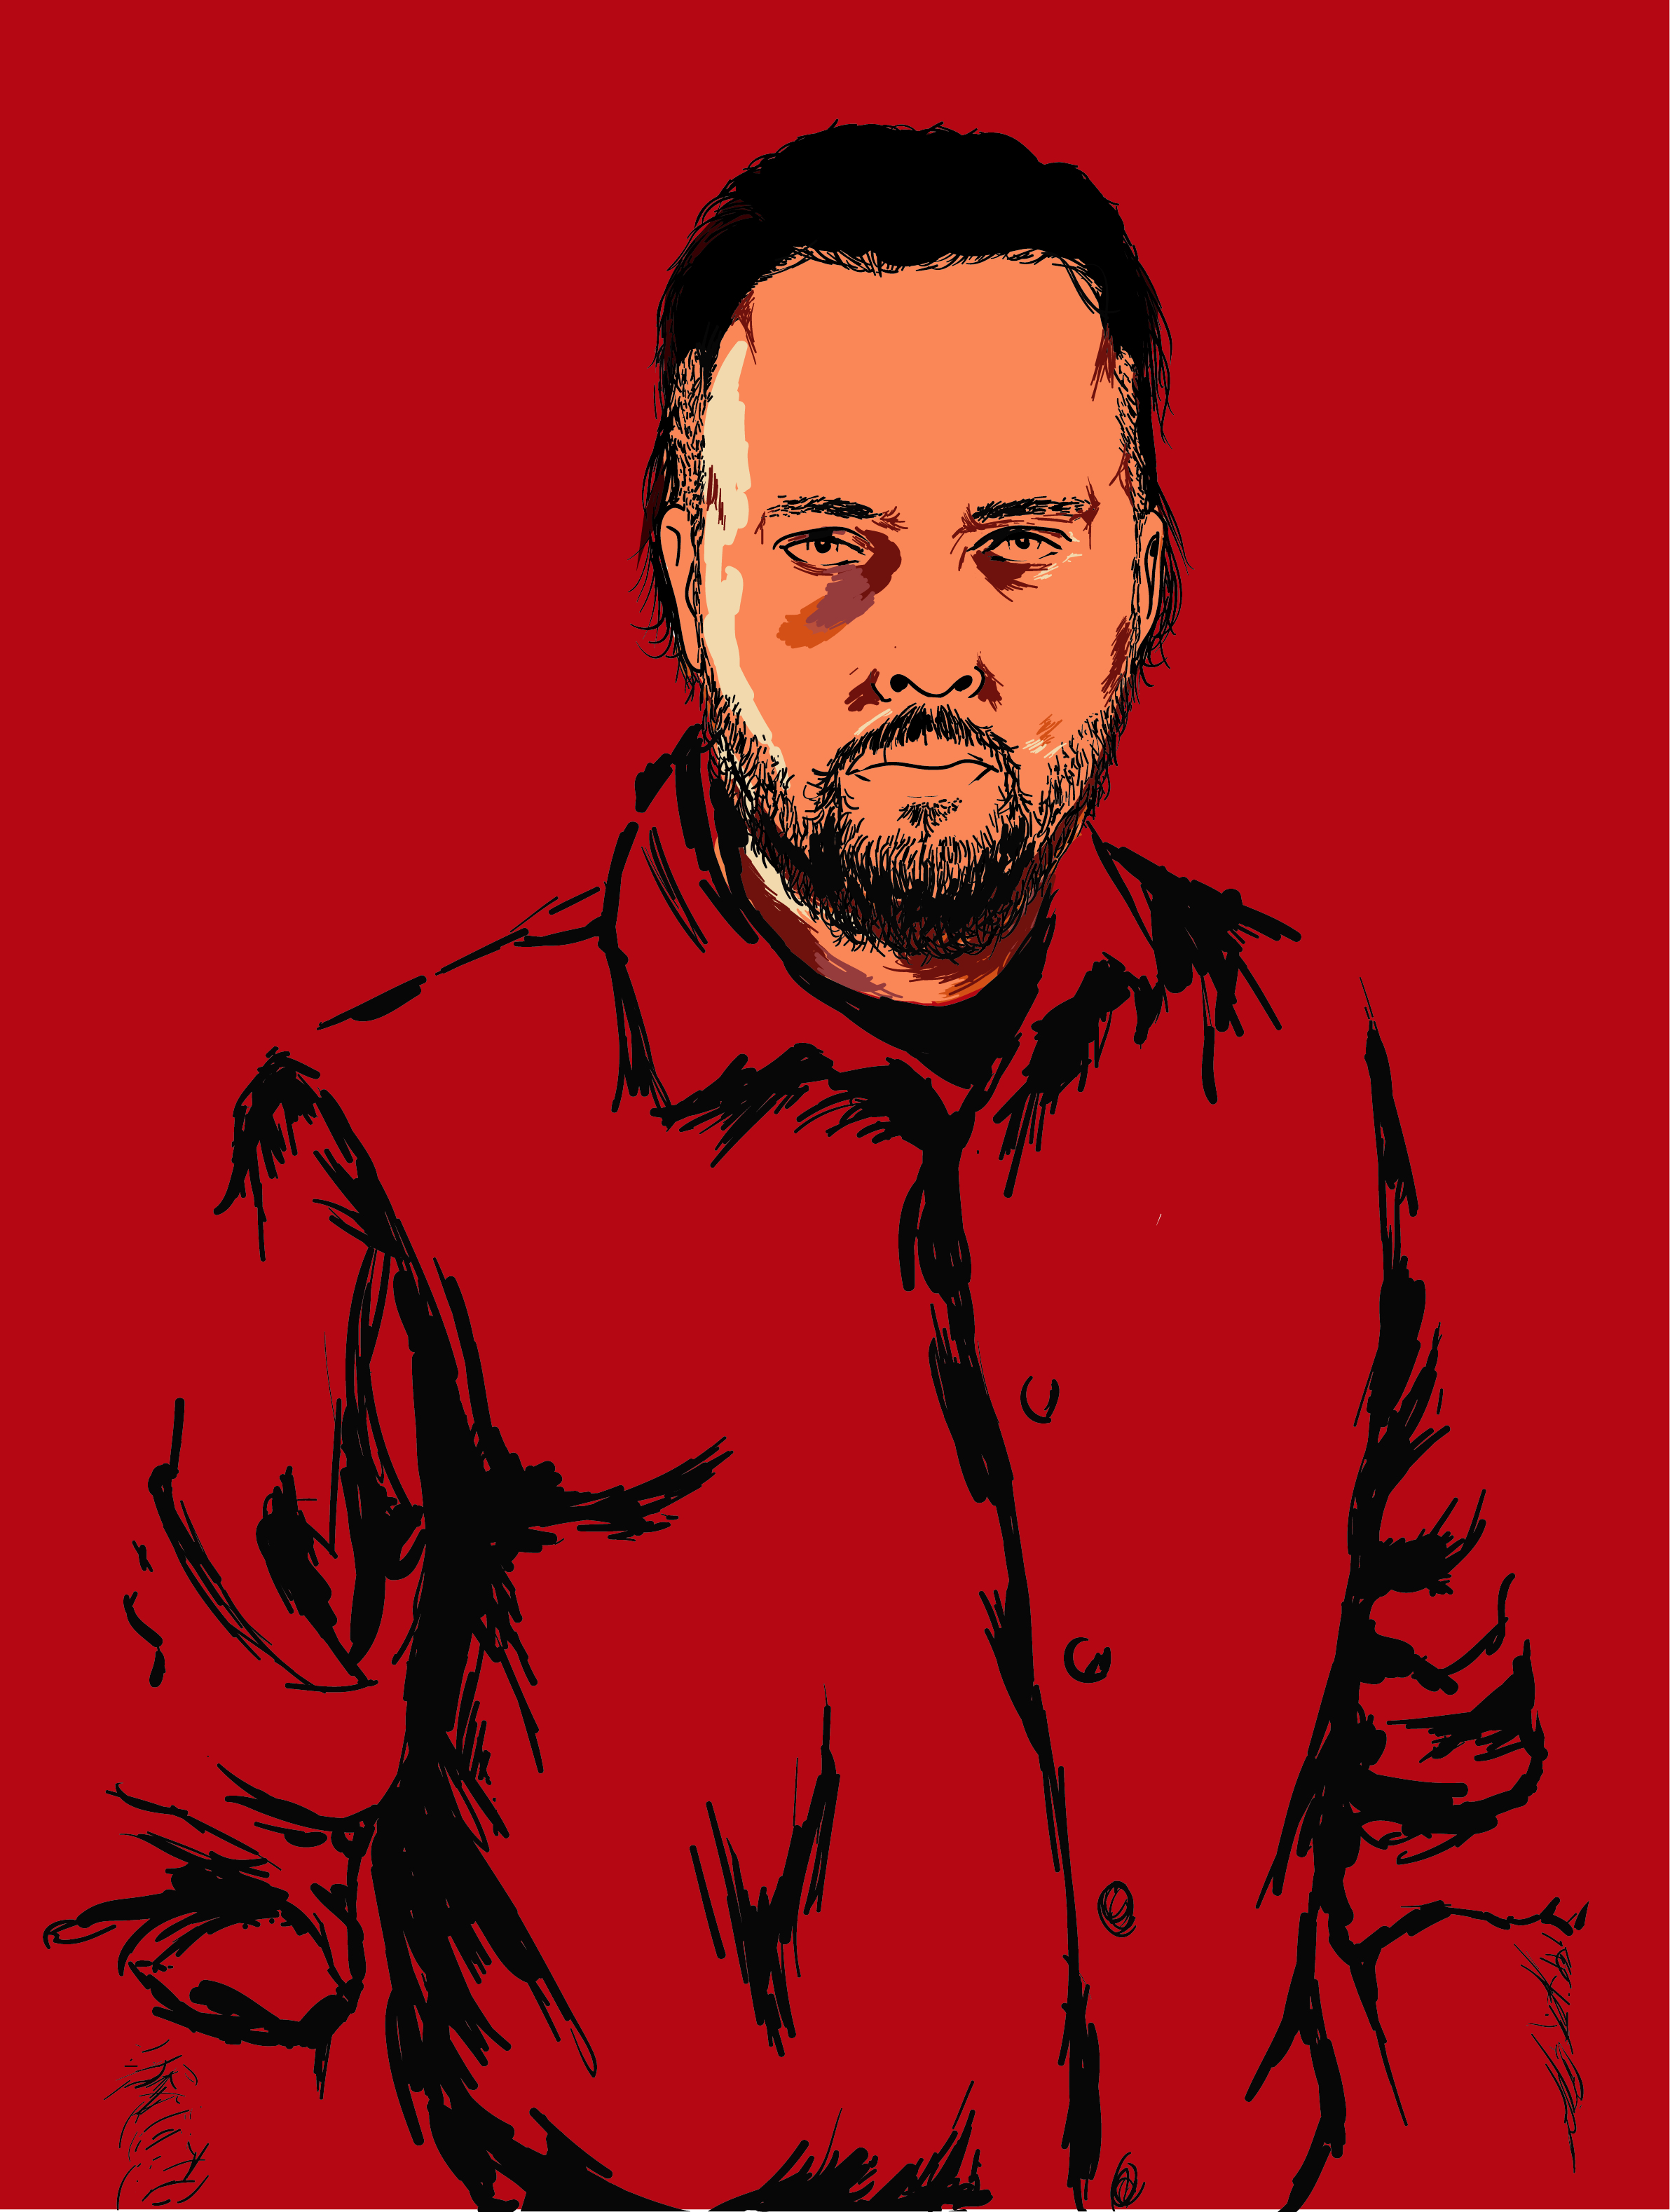
Next up in this workflow Martin goes on to demonstrate exactly how you can go about adding skin tones, lighter and darker shades and generally just adding detail into the facial features.
The layers panel comes in very handy here. It allows you to work on shading whiles still seeing your contour lines (also known as outlines.) Also discover how handy the Outline mode in Illustrator can be. If you are not familiar with this mode it is basically when you can only see the lines of the work you have created, no strokes, colours etc just the design at it's most simple.
Martin also introduces the Brush Tool to add more texture, depth and visual interest to the illustration. Again to make the most of the tool it's good to know exactly how you can customise it's settings. Using brushes can really help to define the style of an illustration and give it character/personality.
The finishing touches are what will make your illustration great!
Adding further texture in Photoshop.
For the most part Martin focuses on how to draw and add details to the face and skin. It's also important to remember the clothing fit's into style of the design. A great way to do this is by applying texture in Photoshop.
Simply find a texture online (ensure it is a free resource or purchase one) and use the blend mode Multiply to create the illusion of stress and age. This techniques takes a mater of minutes and Martin does a great job of explaining it step by step in the tutorial.
It's really important to remember that you should only apply to texture to the characters clothing and not the face, arm or any exposed skin. This is will pretty unusual.
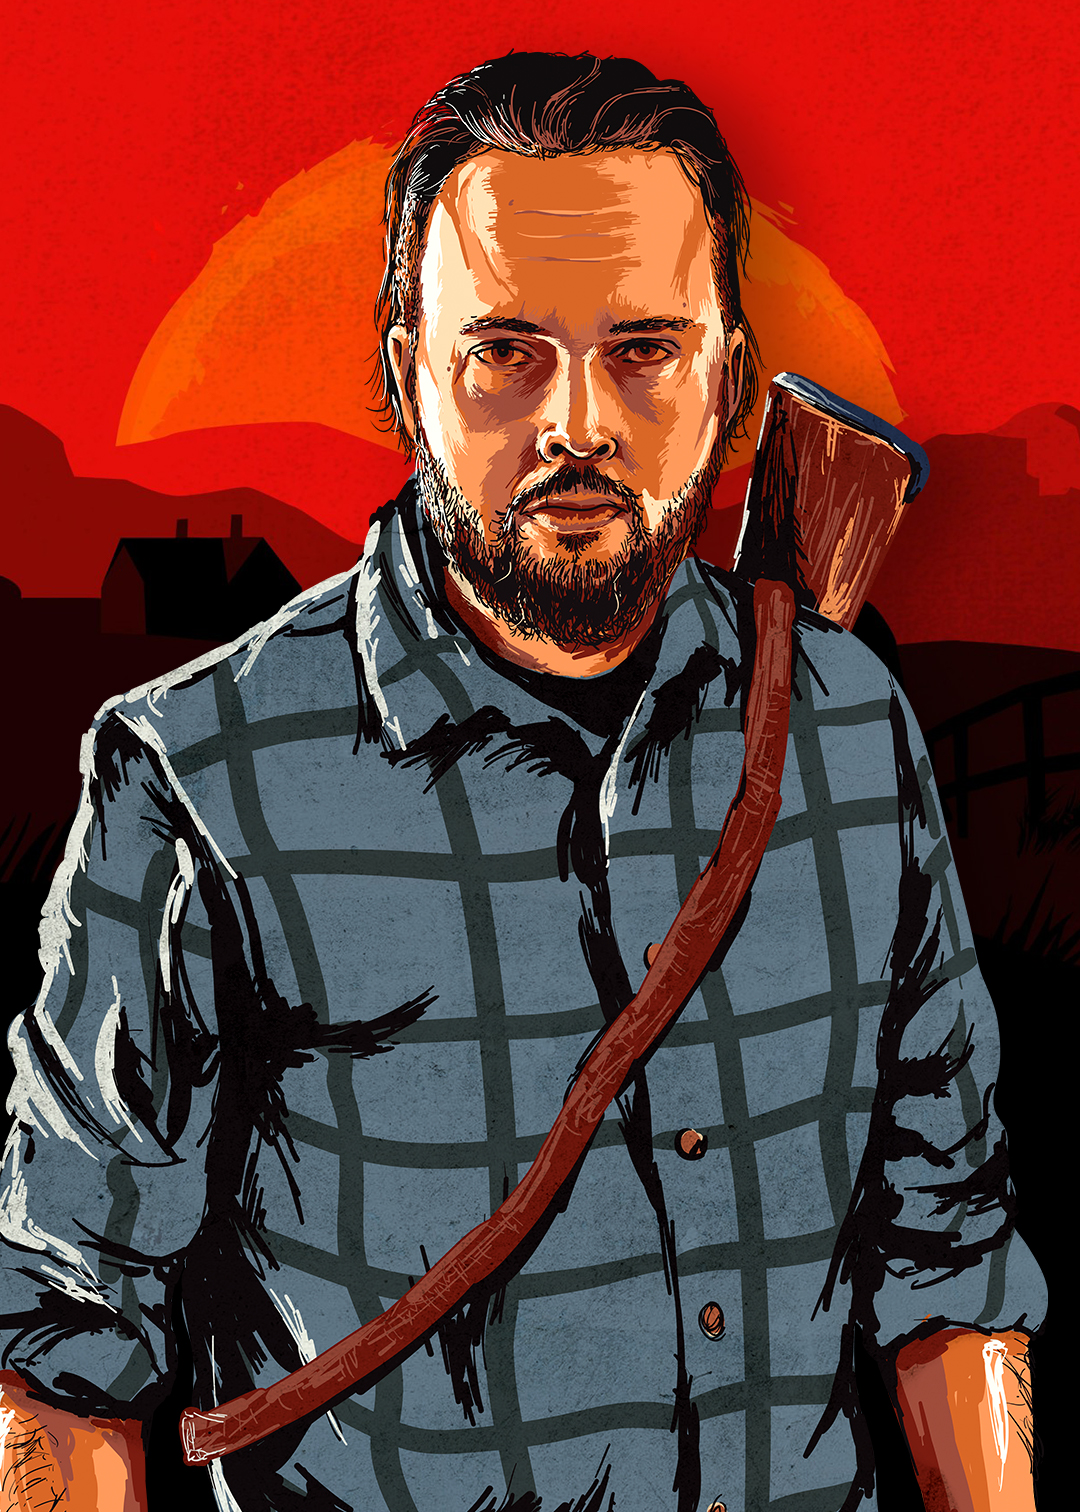
Here we have the final version of the illustration. It took Martin around 5 hours to complete this piece of work. So if you take a crack at your own don't worry if it feels like it is taking a long time or not working right away!
Thanks for reading, let us know what you think and if you decide to out this technique to the test we would love to see what you come up with!
If you want some more creative reading material try this out: 33 Tips for Mastering Photoshop Layers or check out 5 common Typography Mistakes To Avoid.
LEARN ADOBE ILLUSTRATOR
from Adobe Certified Instructors and industry professionals

