Ready to learn 15 really valuable shortcuts in InDesign which will improve the way you work with type? This is the second instalment of a two-part series on working with type in InDesign. If you missed the first post and fancy catching up find it here.
In the video tutorial above Martin will show you how to use each shortcut one by one.
Plus he mentions a tonne of bonus tips which are really worth knowing if you want to master InDesign!
In this post we have included a list of the first 10 shortcuts below. Make sure you have a pad & pen handy to note them down.
Then you can give them a go for yourself, if you enjoy this post check out the tutorial to discover the final five.
Advanced Keyboard Shortcuts
1. Adjust Leading
Option/Alt + Up/Down arrow
The term leading refers to the space between each line of copy, it's important to adjust your leading to make sure text is readable. Using this shortcut will change the space by two point increments. Up will push the lines of text closer together. Down will push them further apart.
2. Kerning/Tracking
Option/Alt + Left/Right arrow
Kerning refers to the individual space between characters in a word. To make adjustments simply click in between two characters and use the shortcut above to move the letter closer or further away from its neighbour.
Tracking refers to a global change between all of the characters in a sentence or paragraph. You just need to select a body of text and use the same shortcut.
3. Kerning Words
Increase Cmd/Ctrl+Opt/Alt+\
Decrease Cmd/Ctrl+Opt/Alt+Del
Use these shortcuts to either increase or decrease the space between individual words within a sentence.
4. Baseline Shift
Option/Alt + Shift + Up/Down arrow
All of the text we use has an invisible line it sits on called the 'Baseline'. This can be shifted using the shortcut above so text has a lower or higher baseline (it's similar to leading.) You can push words, sentences and paragraphs up and down.
5. Hyphenation
Cmd/Ctrl + Opt/Alt + Shift + H
This shortcut will toggle Hyphenation of words on and off. It can only be applied to a paragraph of text. So even if you have just selected one word it will still effect the full paragraph that word is in.
6. Show Special Characters
Cmd/Ctrl + Option/Alt + I
Showing Hidden Characters is a great way to spot double spaces or unwanted breaks in the text which are causing trouble with the format. Try turning this feature on and off so you can see the difference and how useful it can be.
7. Panning
Hold down space bar - click & drag
This is an essential shortcut for you to know and also works in Ps & Ai. It allows you to quickly move around your document and is much faster and more accurate than scrolling.
Check out the video tutorial to find out how you can go a step further and pan while you have text selected!
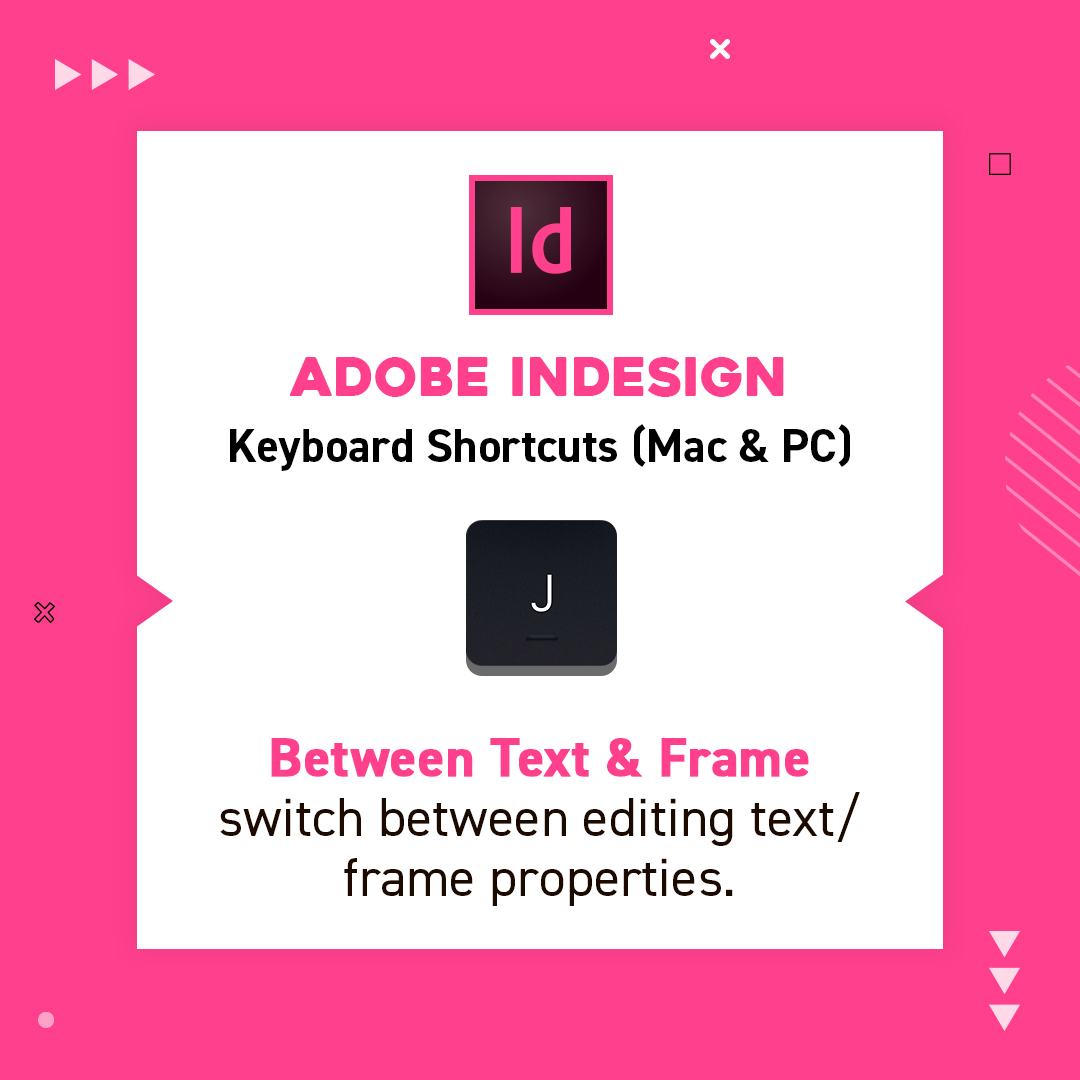
8. Switch Between Text & Frame
J
This enables you to quickly switch between selecting the Frame Attributes and Text Attributes which is something you will find yourself constantly making use of in InDesign!
Sometimes the best way to learn new information is with visuals why not try making your own set of shortcut prompts? You can practise the shortcuts while you are at it.
9. Assign Styles
Option/Alt + Numeric keys
Use this shortcut to switch between the Paragraph Styles you have set up in a document. This saves you from going to the Paragraph Styles dialogue box which you may not even have open.
10. Quick Apply
Cmd/Ctrl+Return/Enter
This is another handy way of applying Styles to your text. The shortcut opens a Dialogue Box. Then you just need to type in the name of the style and select it once it comes up.
We hope you enjoyed the first 10 of our 15 advanced shortcuts in InDesign! If you want to see them in action be sure to check out the full video tutorial. It's available for free here or at the top of this post!
On the lookout for some more creative reading?
Check out this post on the ReColor Artwork tool in Adobe Illustrator.


