Do you want to create presentations like a pro? Are you fed up with the same old layouts and features available in Powerpoint?
Do you struggle to bring energy into your presentation design? If so, you are in the right place! Check out our latest tutorial where you will learn to create outstanding interactive presentations using Adobe XD!
Adobe XD will allow you to create dynamic and eye-catching presentations with some simple features that will leave your audiences captivated!
Don’t be put off to use Adobe XD initially; it looks a little complicated, but with practice and time you will be able to confidently design presentations like a pro.
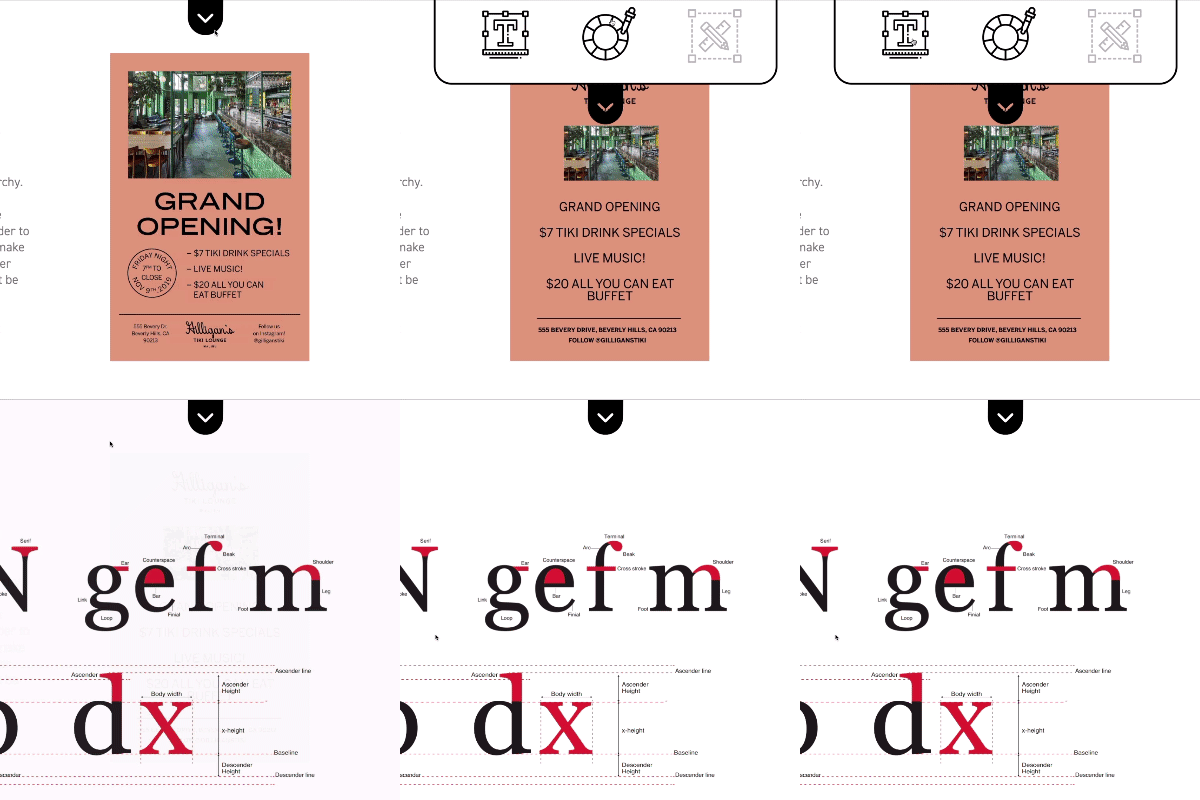
Here is an overview of some of the techniques covered, for a more thorough understanding, please check out the video.
Hover Effect
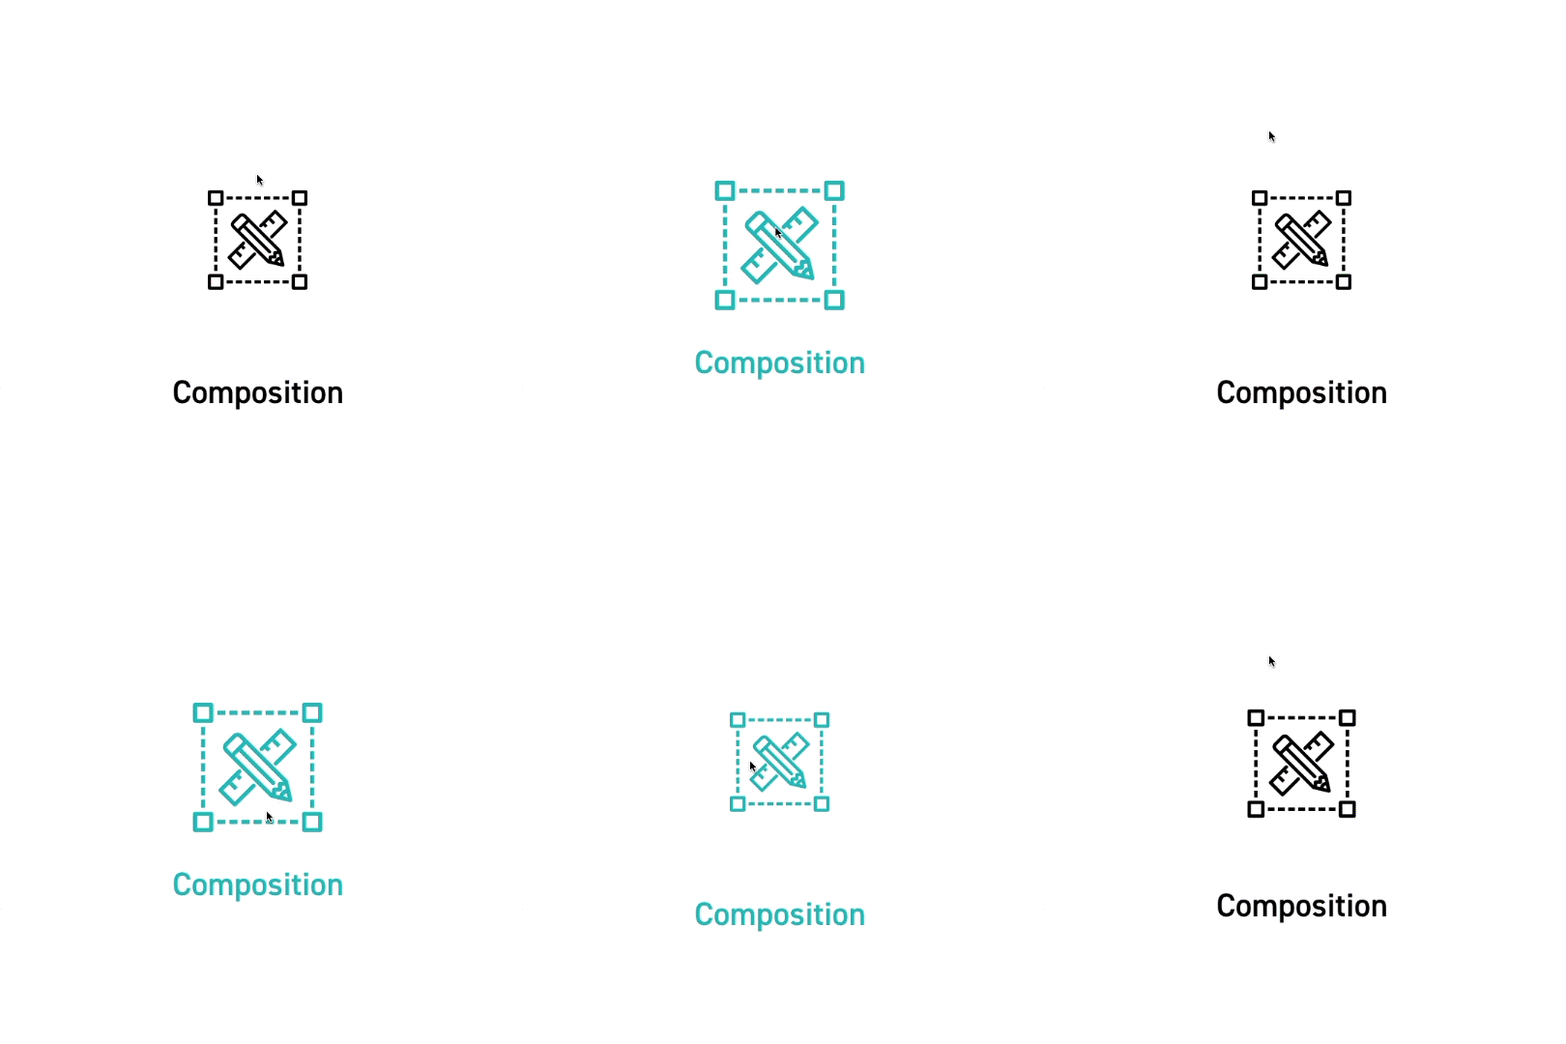
A great interactive feature is to add hover effects to buttons – where changes to the icon colour, size and orientation take place when the mouse hovers over the button.
As well as the icon moving position and changing colour and size, you can also rotate the icon, which helps to give a professional feel and is much more engaging than just static buttons.
The best thing about the hover effect in Adobe XD is that everything is automatically animated. You need to set up the default state, and the hover state and the in-between animation will be automated!
LEARN ADOBE APPLICATIONS
from Adobe Certified Instructors and industry professionals
Navigation
In Adobe XD, you can set up lots of different and exciting ways to navigate between slides. As well as the standard back arrows and tap interactions, This tutorial will show you how to set up:
- Keyboard shortcuts – you can set up any custom keyboard shortcut within the interaction menu so that when that key is typed, you jump straight to the relevant slide.
Voice commands – this is a cool one! You can really easily set up any word to navigate to any slide. Within your presentation you just hold the spacebar and say the word and the relevant slide appears! Seriously, this is so fun you must try it!
- Sticky menus – If you want to add another impressive feature to your presentation, you can create a sticky menu which you can fix the position so that it stays on the page when you scroll.
Finally, if you have two separate screens (that aren’t mirroring), you can also use the actual design board to click on the relevant slide, and your presentation (on a separate screen) will quickly move straight to it (much like a table of contents).
Anchor Links

Adobe XD has an automatic built-in scroll function so that if you have slides that are quite long, you can automatically scroll down to see the content.
Another brilliant feature which is useful for long slides is anchor links which you can set up so that when a component is clicked (e.g. an image or icon), the page scrolls to the relevant part of the slide.
These are very simple to build and give the user easy navigation to the relevant part of the presentation.
Conclusion
The features covered only scratch the surface of what you can do with components to present things engagingly and interactively. You can also use components to build cool interactive quizzes and games. If you do decide to create something in XD, please share the public URL as I’d love to check it out!

Are you interested in becoming a Graphic Designer or Illustrator?
Join 10,000+ creatives and subscribe to our FREE Graphic Design Survival Kit mini-course.
You’ll get instant access to a video+email course, our community + extra resources. Our beginner level free mini-course will be the perfect starting point for your design studies.
UP NEXT
Learning to build brands is an essential skill for designers and learning to brand yourself is perhaps more important.


