Updated in 2025!
The Logo Design Roadmap: A 5-Step Guide to Creating Logos That Last
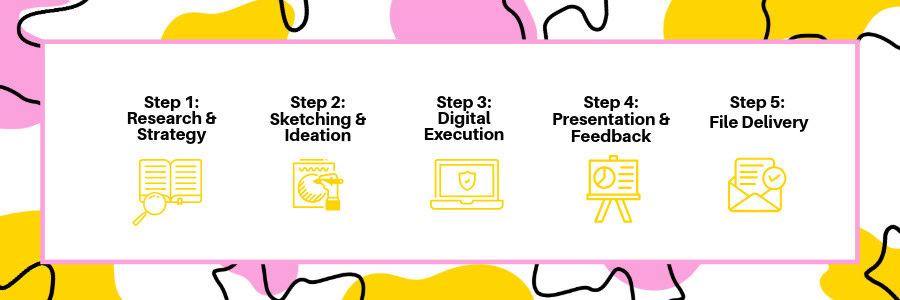
Designing a logo isn’t just about making something that looks nice, it’s about creating a mark that carries meaning, works across every platform, and stands the test of time. Whether you’re a beginner or a professional designer, having a clear roadmap makes the process less overwhelming and far more effective.
In a hurry? Jump straight to our Top 10 Tips for Better Logo Design.
But if you’ve ever wondered how to create a logo that’s not only beautiful, but also functional, scalable, and future-proof, then keep reading. This roadmap is made for you.
Step 1: Research & Strategy
Understand the brief
It's essential to make sure you fully understand what the brief/client is asking from you as a Graphic Designer. Find out what deliverables are required, where will the logo design be used, a good idea of the deadline and what file formats the client would like to receive i.e Ai,jpg,png.
You also need to have a good understanding of who you are creating the work for. Learn about the business, who their customers are and their goals for the future. This is essential because the logo design you create needs to appeal directly to your client's target audience. Remember they will be the ones investing in the brand.
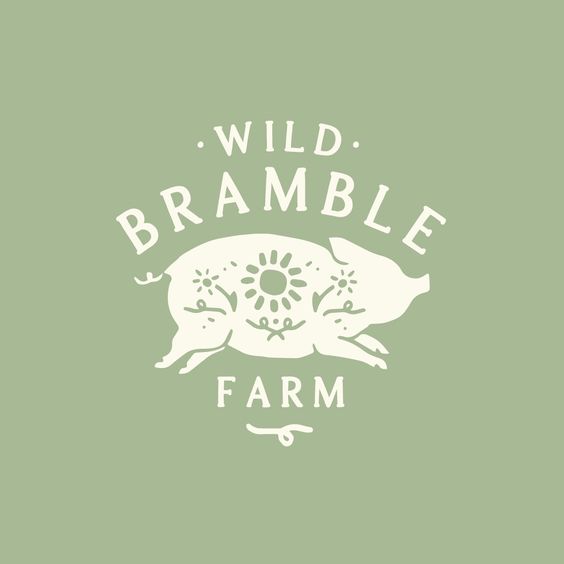
Below is an example of contemporary logo I found on Pinterest which appeal to the right target audience. The Wild Bramble Farm Logo uses a rounded and relaxed typeface and organic style of illustration, these traits echo the nature of the business. The added details within the pigs silhouette give the design plenty of personality and a friendly feel. All of this paired with the natural feeling colours means this design is perfect for the type of audience who would want to visit a farm.
The Research is key
Now you have an idea of the deliverables, timeline, who you are making the work for and what it needs to achieve you can start to research. Make sure you don't just look at one style or direction for the design. Look at plenty of references and gather them all in one place by creating a mood board either in Adobe Illustrator or on a site like Pinterest.
You can also brainstorm with AI tools such Mid-journey, Stable Diffusion, DALL.E. These are best used for inspiration, not final logos (since outputs aren’t vector-ready). You can type prompts such as 'minimalist geometric logo for a fitness brand' .
Here's some handy examples of different ways you can set up a mood-board. I always like to keep it to one page and choose between 5-10 images max but different Graphic Designers have different preferences. Find what works for you!
See below three different moodboards I created for one of my logo design projects: Rainbow and Puddle.

Soft Pastel Moodboad

Retro outdoor Moodbaord

Viiv Geometric mooadboard
My go to place for logo research are, Good Type, Logo Bloom and Pinterest. These are fantastic sources for fresh lettering and branding inspiration. But don’t stop there. Inspiration often hides in unexpected places from the typography on a vintage poster, the layout of a product package, or even the charm of old-style sign painting.
Step 2: Sketching & Ideation
Logo Ideation and Sketching
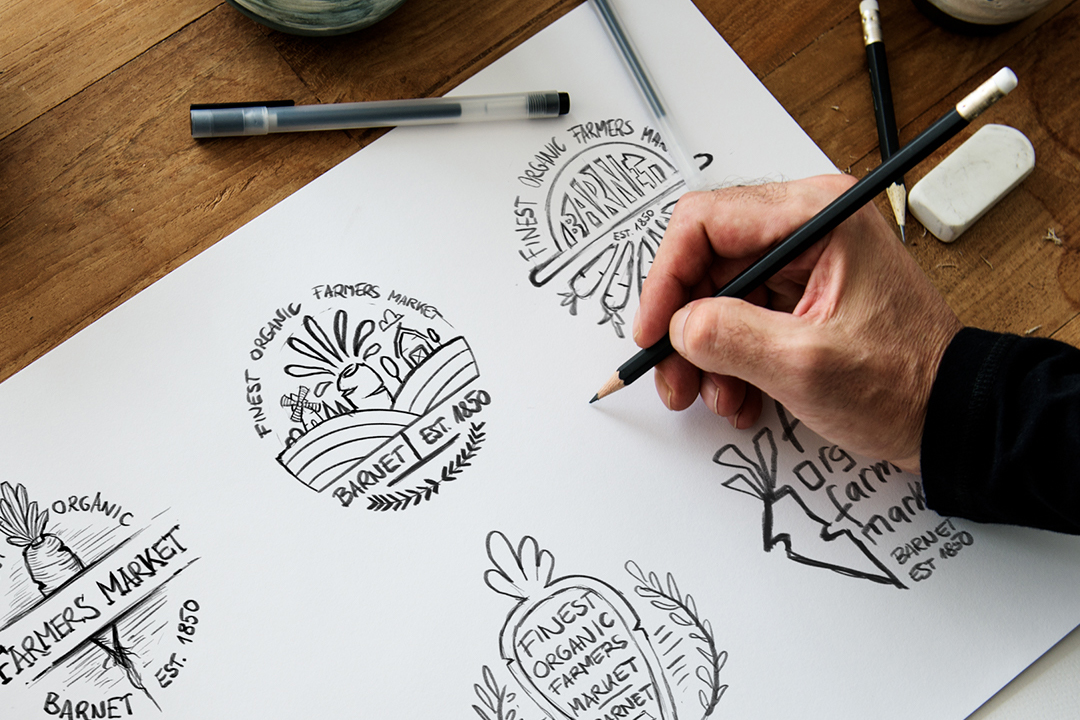
Once you have carried out plenty of research and gathered it into a mood board format it's time to start sketching out your ideas. This stage is a bit tricky and incredibly rewarding. When you start to sketch think about the audience you are creating the work for, what service the business provides and if there is any imagery related to that service. I bet a whole host of items pop up when you think about a Farmers Market?
Just draw as much as you can. Look at how the illustration and typography could fit together. Don't expect to solve the brief right away, but rather allow your mind to create freely and see where your creativity takes you.
Step 3: Digital Execution
Create responsive, scalable logos in Adobe Illustrator
Once you have a set of promising options it's time to switch to Adobe Illustrator. There are plenty of different ways to create your sketches digitally. Martin sketches using Procreate sends a JPG to his Mac and brings it into Adobe Illustrator. This is very common method that a lot of designers use. It allows you to trace over the top of the shapes with the Pen Tool, Shape Tools or even the Pencil or Paint Brush options.
The tools you use will affect the final look and feel of the logo. For example, if you want the logo to look more modern and refined, than the Pen and Shape Tools are great. But if you are looking for something which feels more hand-drawn try out the paintbrush tool using a Wacom or the iPad version of Illustrator. The paths you create are live so you can always go in and adjust anchor points if you go wrong.
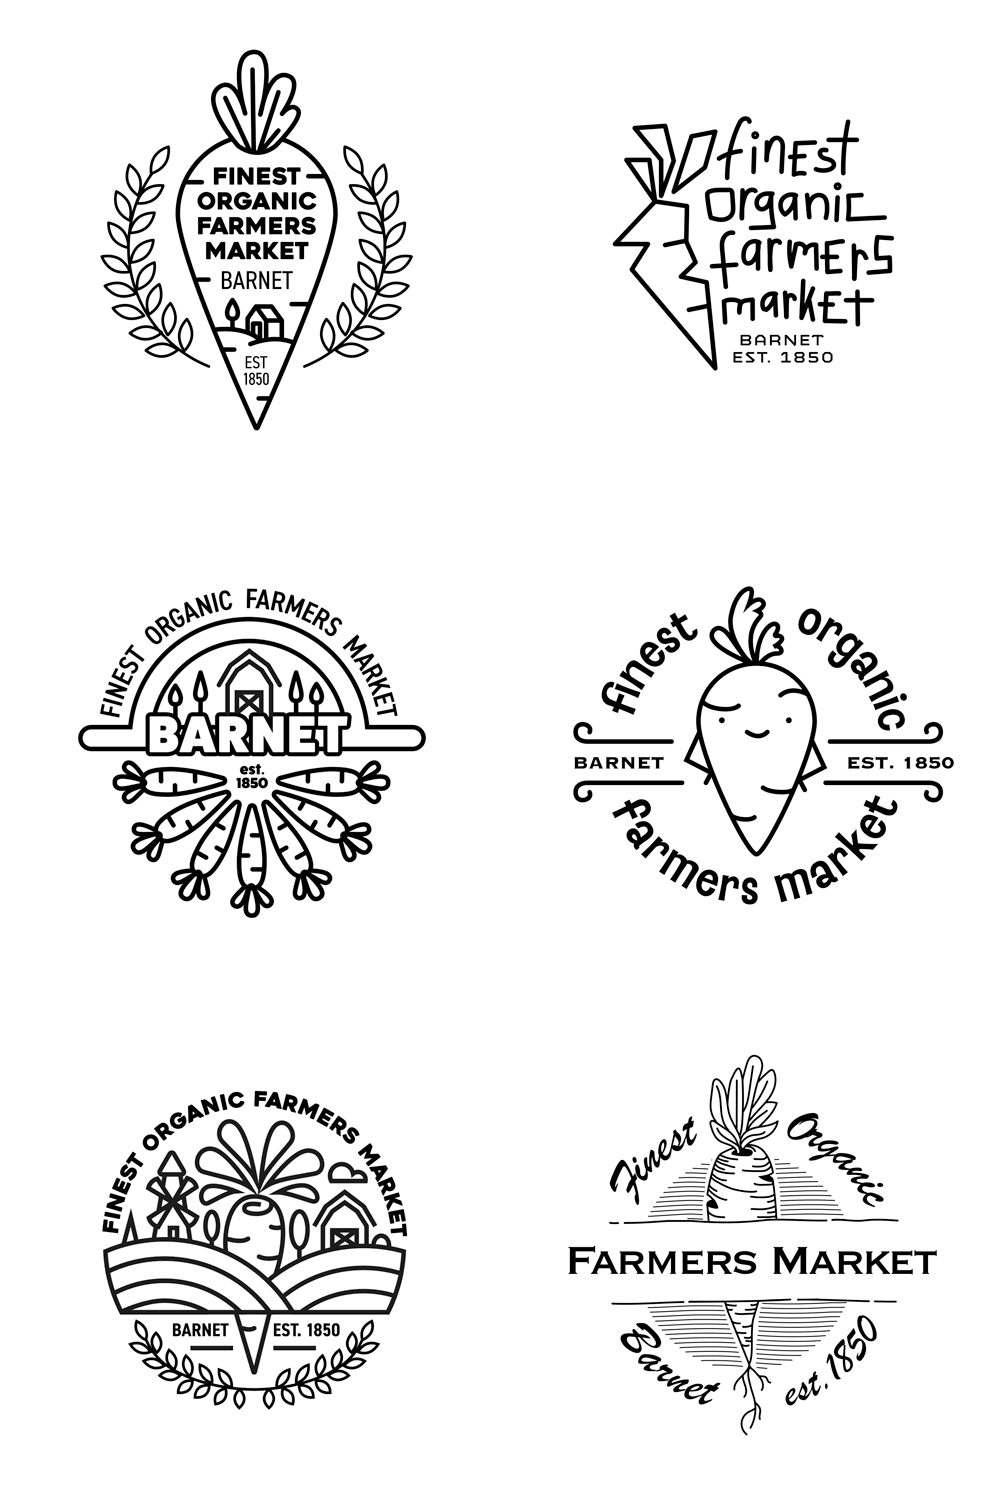
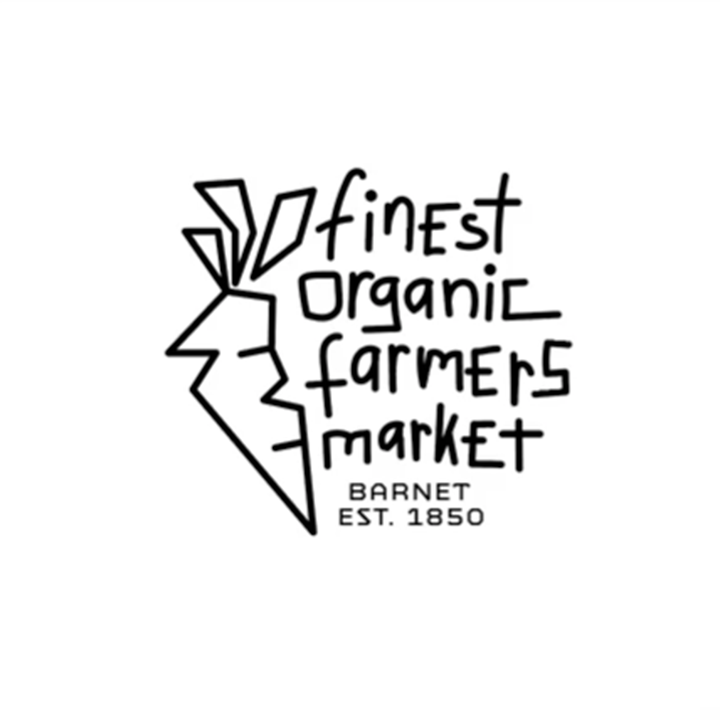
If you feel like something is not working then put down the mouse and go back to the sketching stage, this is normal and happens a lot. Logo design takes time, here's a few examples from Martins
tutorial.
Step 4: Presentation & Feedback
Feedback from a peer
Firstly we recommend you ask a fellow creative for some constructive feedback on your design. This practice opens up new ideas you may not have considered or reveals a fault in the design which you can then amend. Either way, it almost always leads to better quality work even if it's a little intimidating to ask initially!
Present the Work to the client
Usually, it's good practice to create three different initial logo options for the client. Once you feel confident you have three designs that fulfill the brief it is time to put them into a presentation that can be sent to the client.
The quality of the presentation is really important. I would display each option in black and white, then in your suggested colour palette and finally on a PSD mockup. Include a few notes on why you have put each option forward so the client understands your thinking. Don't forget to create front and back covers that include all your contact information.
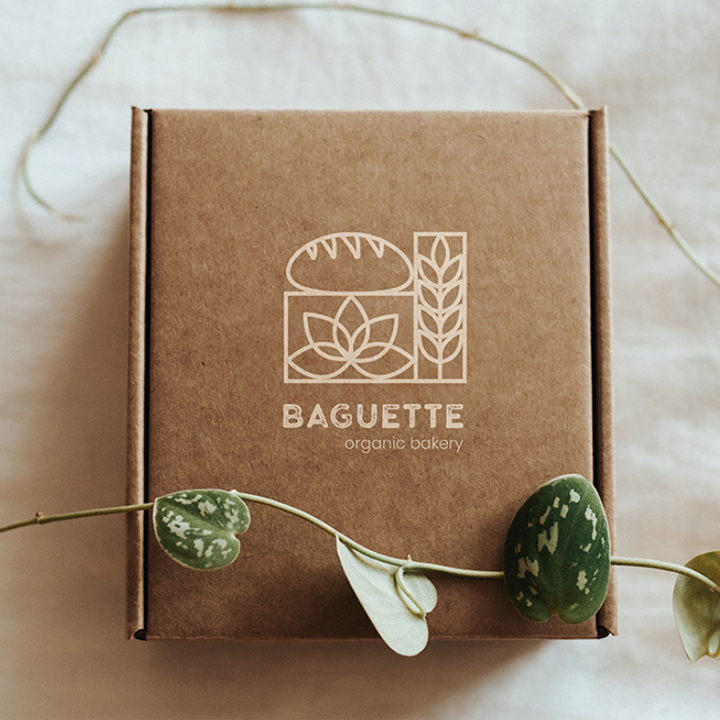
I found this project over on Behance and think it's a great example of how to display a logo professionally. A client can see it works at small sizes and on packaging. You can also see the different colours the logo looks good in which makes it flexible to use.
Step 5: Delivery
Provide File Formats That Cover Every Need
Your job is not done until the client has all the right files for their new logo design. Make sure it's easy to upload to Social Media, on the Web and ready to be used in Print. Always clearly label your files so they are easy to navigate and if you have time include a few freebies.
Here are all the file formats that covers every need.
Vector files: AI, EPS, PDF (for print and scaling).
Web files: PNG, JPG, and especially SVG (lightweight and scalable for digital).
Motion files (if animated): Lottie JSON or MP4
This is a nice way to end the project and usually encourages repeat work!
Bonus Tutorials!
Logo Design Tips & Tricks
learn about his workflow and best practices for logo design projects. We will mainly be using Adobe Illustrator (both on the desktop and iPad). We will also cover how to do your research for logo design projects and how to create brand guides.
Best Animated Logos and How to Create Them
Animated logos can capture and hold the viewer's attention more effectively than static logos. There has been a noticeable decline in people’s attention span in recent years, influenced mainly by smartphones and social media. This is also one of the main reasons why there is a need for animated logos. Join us as we analyze some amazing animated logos and discuss how to create them!
Creating a winning logo isn’t about luck, it’s about following a clear process. With this 5-step roadmap, you’ve got everything you need to move from research and ideation through to polished delivery.
The tools and trends may evolve, but the foundation of great logo design will always stay the same: clarity, meaning, and consistency.
Lastly remember! Don't rush yourself! The first sketches don't need to solve the brief. Take you time and enjoy the process!
In the mood to learn a little more? I recommend you to continue with our article on How to Create a Brand Style Guide!
If you want to step up your game as a Creative Professional, you can challenge yourself in our Pro Membership with individual and group project briefs - like Logo Design - and get feedback on your work. You will also have access on our entire course library to hone your skills. See the details here:
LEARN ADOBE APPLICATIONS
from Adobe Certified Instructors and industry professionals


